REVIEW · PHOTOGRAPHY SESSIONS
Bangkok Photography Masterclass – Private Photography Lesson
Book on Viator →Operated by Aperture Tours · Bookable on Viator
Want sharper street photos fast?
This private Bangkok photography masterclass turns sightseeing into a real photo lesson, using a local instructor to guide you through areas like Chinatown and Thonburi while you practice on the spot. I love the one-on-one flexibility of a private format and the way the coaching centers on composition and practical skills (the enthusiasm is hard to miss—Paul was called out for both). One thing to consider: if a guide gets sick, the operator has canceled last-minute before, so you’ll want a little buffer on your final plans.
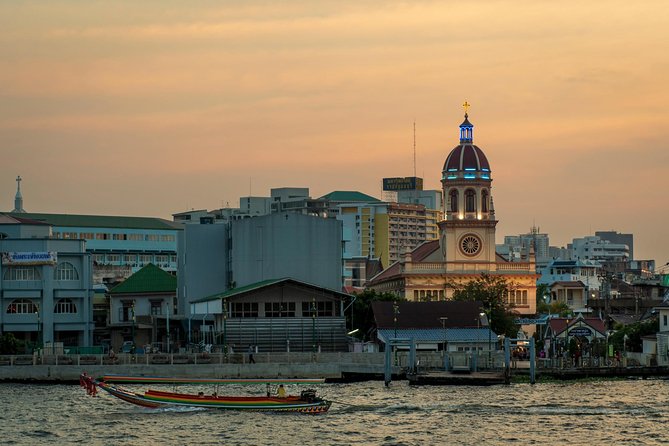
You can also pick a daytime or nighttime session, which matters because Bangkok’s look changes fast after dark—street light, signs, and the rhythm of markets give you very different practice. You’ll start at Rong Mueang Station (หัวลำโพง / Rong Mueang, Pathum Wan) and end back there, with free bottled water to keep you steady while you walk and shoot.
In This Review
- Key highlights worth knowing
- Private Coaching in Bangkok: What You’re Really Buying
- Choosing Day vs Night: Bangkok’s Lighting Is the Real Lesson
- Starting at Rong Mueang: How the Route Sets You Up
- Chinatown: Learning to Frame the Noise
- Erawan Shrine and Benjasiri Park: Shapes, Rhythm, and Breathers
- Wat Arun and Sao Chingcha: Scale and Strong Lines
- Train Night Market Ratchada and So/ Spa: Making Night Feel Intentional
- How Paul-Style Coaching Improves More Than One Shot
- Practical Tips for Getting Strong Results in 3 Hours
- Who This Private Photo Lesson Fits Best
- Should You Book This Bangkok Photography Masterclass?
- FAQ
- How long is the Bangkok Photography Masterclass?
- How much does it cost per person?
- Is it a private tour?
- Where does the tour start?
- Where does the tour end?
- Does the tour include bottled water?
- Can I choose a daytime or nighttime tour?
- What areas can the tour include?
- Is confirmation provided when I book?
- What is the cancellation policy?
- Are service animals allowed?
Key highlights worth knowing
- Private, customizable instruction so the pacing matches your skill level
- Day or night options that change the kind of images you learn to make
- Specific coaching focus on composition and improving your skills in real conditions
- Chinatown and night market shooting for high-energy street scenes and lights
- Practical comforts like free bottled water and an end point back at the start
Private Coaching in Bangkok: What You’re Really Buying
At $160 per person for about 3 hours, you’re paying for more than a route. You’re buying time with a local photography instructor who can watch what you’re doing and steer you toward better shots—framing, composition, and how to see what the camera misses when you’re just walking.
The private format matters because Bangkok is full of distractions. A group tour can move quickly and leave you stuck with generic advice. Here, the lesson is meant to be customized to your skill level, so you’re not just tagging along—you’re practicing with feedback while you’re still in the moment.
You also get value in the way the experience is designed: it mixes classic Bangkok stops with areas where street photography really happens. If you’ve ever felt like you took lots of photos but didn’t get better, this is the kind of session that helps you fix that. Reviews specifically praise instructors who bring both energy and teaching clarity, with Paul singled out for coaching and finding unexpected places to shoot.
You can also read our reviews of more private tours in Bangkok
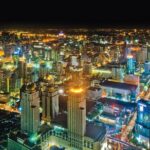
Choosing Day vs Night: Bangkok’s Lighting Is the Real Lesson
Bangkok at night is a different city. The plan is built around that idea: you can choose a nighttime session that focuses on night photography skills and helps you express your own style, not just copy a preset formula.
In practical terms, nighttime photography forces you to think about things you can ignore in daylight:
- light sources and reflections
- contrast (bright signs vs dark corners)
- movement (people, carts, trains, and traffic)
- keeping your framing intentional when the scene gets chaotic
If you pick daytime, you’ll still get street practice, just under more forgiving light. That can be a great choice if you’re still building confidence with composition. Either way, you’re using real Bangkok scenes for practice, not a classroom vibe.
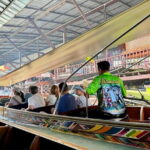
Starting at Rong Mueang: How the Route Sets You Up

The tour starts near Rong Mueang Station in Pathum Wan and returns there at the end. That’s helpful because you’re not solving transport puzzles mid-lesson—you can focus on shooting, walking, and getting guidance.
You’re also not wandering alone. The instructor keeps you moving through photo-worthy areas and helps you turn a random street moment into a planned shot. The tour is described as private, meaning only your group participates, so the pacing won’t get dragged by people who don’t shoot.
And yes, the free bottled water is a small detail that makes a real difference in Bangkok. Three hours can sound short until you’re walking, looking up, looking down, and constantly resetting your camera settings and posture.
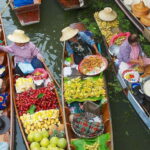
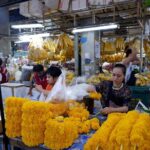
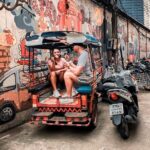
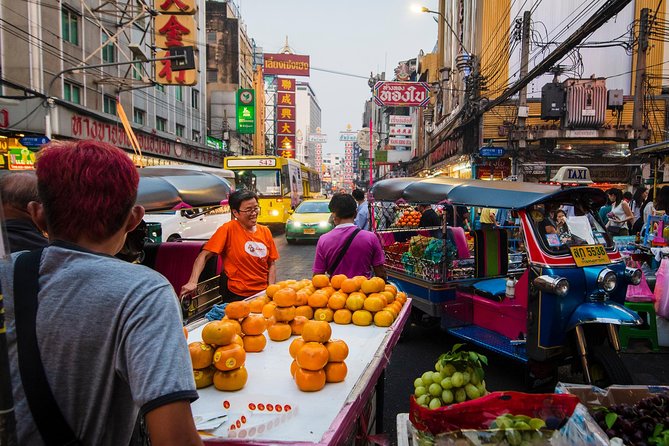
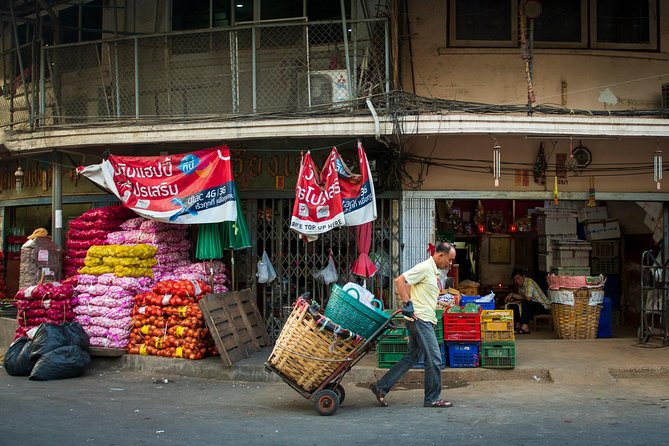
Chinatown: Learning to Frame the Noise
Chinatown is where Bangkok shows you its loud side: dense streets, constant activity, and surfaces that beg for close framing. On this kind of stop, the lesson usually becomes about control—how you choose what to include and what to leave out.
Here’s how you’ll get better fast:
- practice tightening your composition so your subject pops
- learn how to use layers (foreground, mid-ground, background)
- experiment with angles so the scene doesn’t look flat
A big benefit of Chinatown on a photo lesson is that you can shoot the same area multiple ways as you gain understanding. One minute you might be focusing on people and gestures; the next you might be focusing on signs, patterns, or light on shop fronts. Your instructor’s job is to keep those experiments purposeful, not random.
The main drawback is simple: Chinatown can get busy. That means you may need to be patient and respectful with your timing so you don’t block foot traffic while shooting.
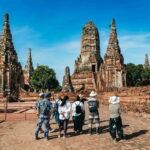
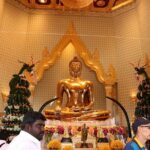
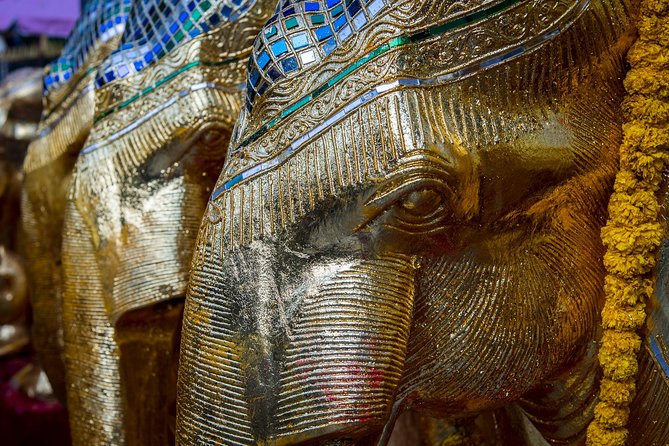
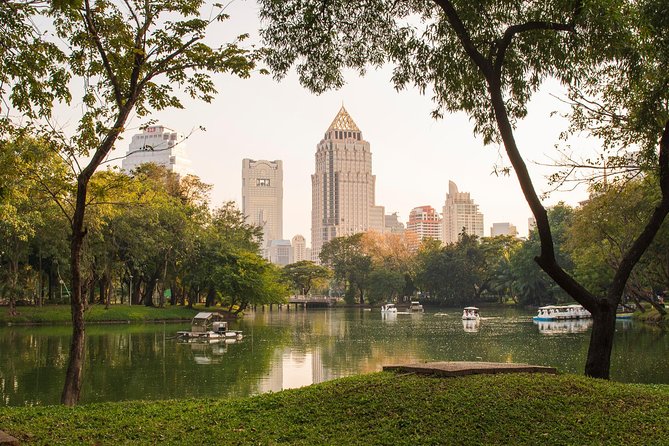
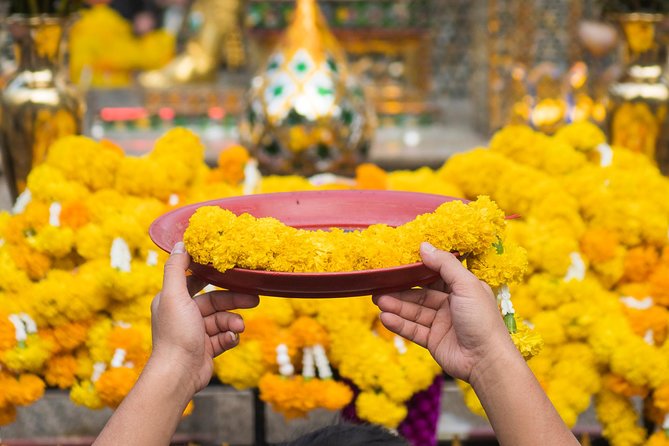
Erawan Shrine and Benjasiri Park: Shapes, Rhythm, and Breathers
The route includes Erawan Shrine (Thao Mahaprom Shrine) and Benjasiri Park, and that pairing is smart for photographers. Sacred landmarks and open spaces teach different skills, even if both end up in your frame.
At Erawan Shrine, you’ll likely get practice with symmetry, strong focal points, and the challenge of photographing details when people are part of the scene. When temples and shrines are in view, your camera has to balance scale with story—your job is to choose what the photo is about.
Benjasiri Park adds a different texture. A park stop can give you a break from tight streets, and that helps you reset your eye. It’s a good place to practice calmer compositions—ways to frame subjects against cleaner backgrounds, or to slow down and shoot with intention.
The main consideration at both stops: if you’re photographing from a distance, you might feel like you’re missing the best angle. Ask for guidance early. Part of what makes this masterclass valuable is that your instructor can steer you to where your perspective changes the photo.
You can also read our reviews of more photography tours in Bangkok


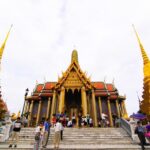
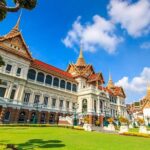
Wat Arun and Sao Chingcha: Scale and Strong Lines

Two of the route’s big-name stops are Temple of Dawn (Wat Arun) and Sao Chingcha (the Giant Swing). Even if your camera is just a phone, these are the kind of places that reward careful framing.
Wat Arun is a photography magnet because of its bold, recognizable structure. The lesson angle here is less about “getting a postcard” and more about practicing how to turn a landmark into a composition. Think about:
- where you place the main structure in your frame
- how you handle contrast between bright and shaded areas
- how to include context without losing focus
Sao Chingcha tends to train a different skill: using scale and lines. Giant structures often push you to shoot from angles that make the subject feel bigger than life. That’s where your composition coaching matters—your instructor can help you avoid the trap of photographing only the middle and losing the impact.
If you want one practical takeaway, it’s this: when the scene is iconic, you still need a point of view. A lesson like this helps you develop one, so your shots don’t all look identical.
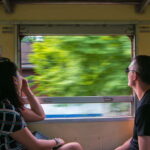
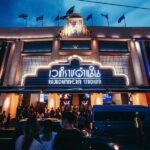
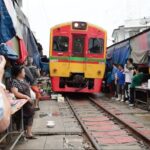
Train Night Market Ratchada and So/ Spa: Making Night Feel Intentional
For nighttime sessions, the plan focuses on night photography skills and encourages personal expression. The route includes Train Night Market Ratchada, and you can also expect stops that add a mix of modern and market energy, including So/ Spa.
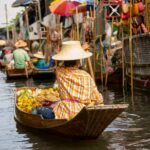
Night markets are excellent practice because you get both light and motion. You’ll likely be surrounded by signs, stalls, and people moving in and out of your frame. That’s exactly the kind of controlled chaos where a coach helps you decide:
- what to treat as the subject
- when to hold still for a clean composition
- when to let motion create atmosphere
With places like So/ Spa, you also get the chance to work with a different look—often more graphic lighting, signage, and architectural edges. This gives your photo set variety, so the final collection doesn’t feel like one long exposure of the same scene.
The drawback with night photography is always technique under pressure: light changes quickly and some scenes are crowded. Keep your aim flexible. You might get better results by shooting fewer frames but with clearer intent, rather than spraying and hoping.
How Paul-Style Coaching Improves More Than One Shot
One of the most praised elements in the experience is instruction quality. Reviews highlight Paul’s enthusiasm and his ability to help people improve composition and skills, with guidance that leads to amazing shots and a side of Bangkok they might otherwise miss.
That “coach” role shows up in how you’ll use your time:
- You’re not only shown where to go; you’re taught how to shoot there
- You get feedback while you’re still capable of adjusting
- You leave with motivation to keep developing, not just a folder of images
A good masterclass also teaches you how to practice after you’re done. Even if you never buy a fancy course again, the mental habits should stick: looking for strong subject placement, noticing light direction, and choosing a frame that tells a clear story.
If you’re the type who has trouble knowing what to focus on, this is a strong fit. The structure of walking stops plus coaching feedback is what turns “cool places” into “better photos.”
Practical Tips for Getting Strong Results in 3 Hours
Three hours is enough time to learn, but not enough time to wander without a plan. Your best strategy is to show up ready to practice and communicate what you want.
Here’s what helps most in a street/photo lesson format:
- Bring a camera you can operate confidently (phone is fine if it’s your tool)
- Charge your device and bring any basic accessories you use
- Wear comfortable shoes for walking and repositioning
- Be ready to try different angles rather than repeating the same shot
Also, since the tour is designed to adapt to your skill level, take advantage of that. Early questions save time later. Ask how you should compose your shots in busy areas like Chinatown, or what kind of approach works best at night.
And keep hydration in mind. Bangkok heat and humidity can drain focus quickly. The included bottled water helps, but you still want to pace yourself.
Who This Private Photo Lesson Fits Best
This works well if you fall into one of these categories:
- You want a structured way to improve street and night photography without guessing
- You’re comfortable exploring on foot but want guidance on what to shoot
- You enjoy learning from a local instructor who can adjust to your level
- You’re traveling with a camera and want images that feel intentional, not accidental
It’s also a nice choice if you want flexibility. Since it’s private, you’re not trapped in a rigid group rhythm.
If your goal is purely sightseeing with photos as a bonus, you might find a dedicated walking tour is simpler. But if you want your camera to become a tool for seeing, this lesson is a strong match.
Should You Book This Bangkok Photography Masterclass?
I’d book it if you want hands-on coaching in real Bangkok neighborhoods—Chinatown and major landmark areas—plus optional night practice that teaches you to work with low-light conditions.
I’d think twice only if your trip schedule is extremely tight on your last day. The experience has had at least one last-minute cancellation due to the photographer falling ill, and that can leave you without a backup guide. If you can schedule with slack (even a day), you reduce that risk.
Overall, the value is in the teaching and the private attention. For $160, you’re not just paying for a route—you’re paying for a lesson aimed at improving composition and helping you take better photos right away.
FAQ
How long is the Bangkok Photography Masterclass?
It lasts about 3 hours.
How much does it cost per person?
The price is $160.00 per person.
Is it a private tour?
Yes. It’s private, and only your group participates.
Where does the tour start?
The tour starts at สถานีรถไฟหัวลำโพง Rong Mueang, Pathum Wan, Bangkok 10330, Thailand.
Where does the tour end?
It ends back at the meeting point.
Does the tour include bottled water?
Yes. Bottled water is included.
Can I choose a daytime or nighttime tour?
Yes. You can choose between daytime or nighttime tours.
What areas can the tour include?
You may visit areas such as Koh Ratanakosin, Thonburi, and Chinatown, depending on the session.
Is confirmation provided when I book?
Yes. Confirmation is received at the time of booking.
What is the cancellation policy?
Free cancellation is available. You can cancel up to 24 hours in advance for a full refund.
Are service animals allowed?
Yes, service animals are allowed.